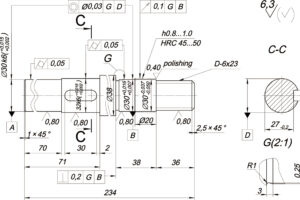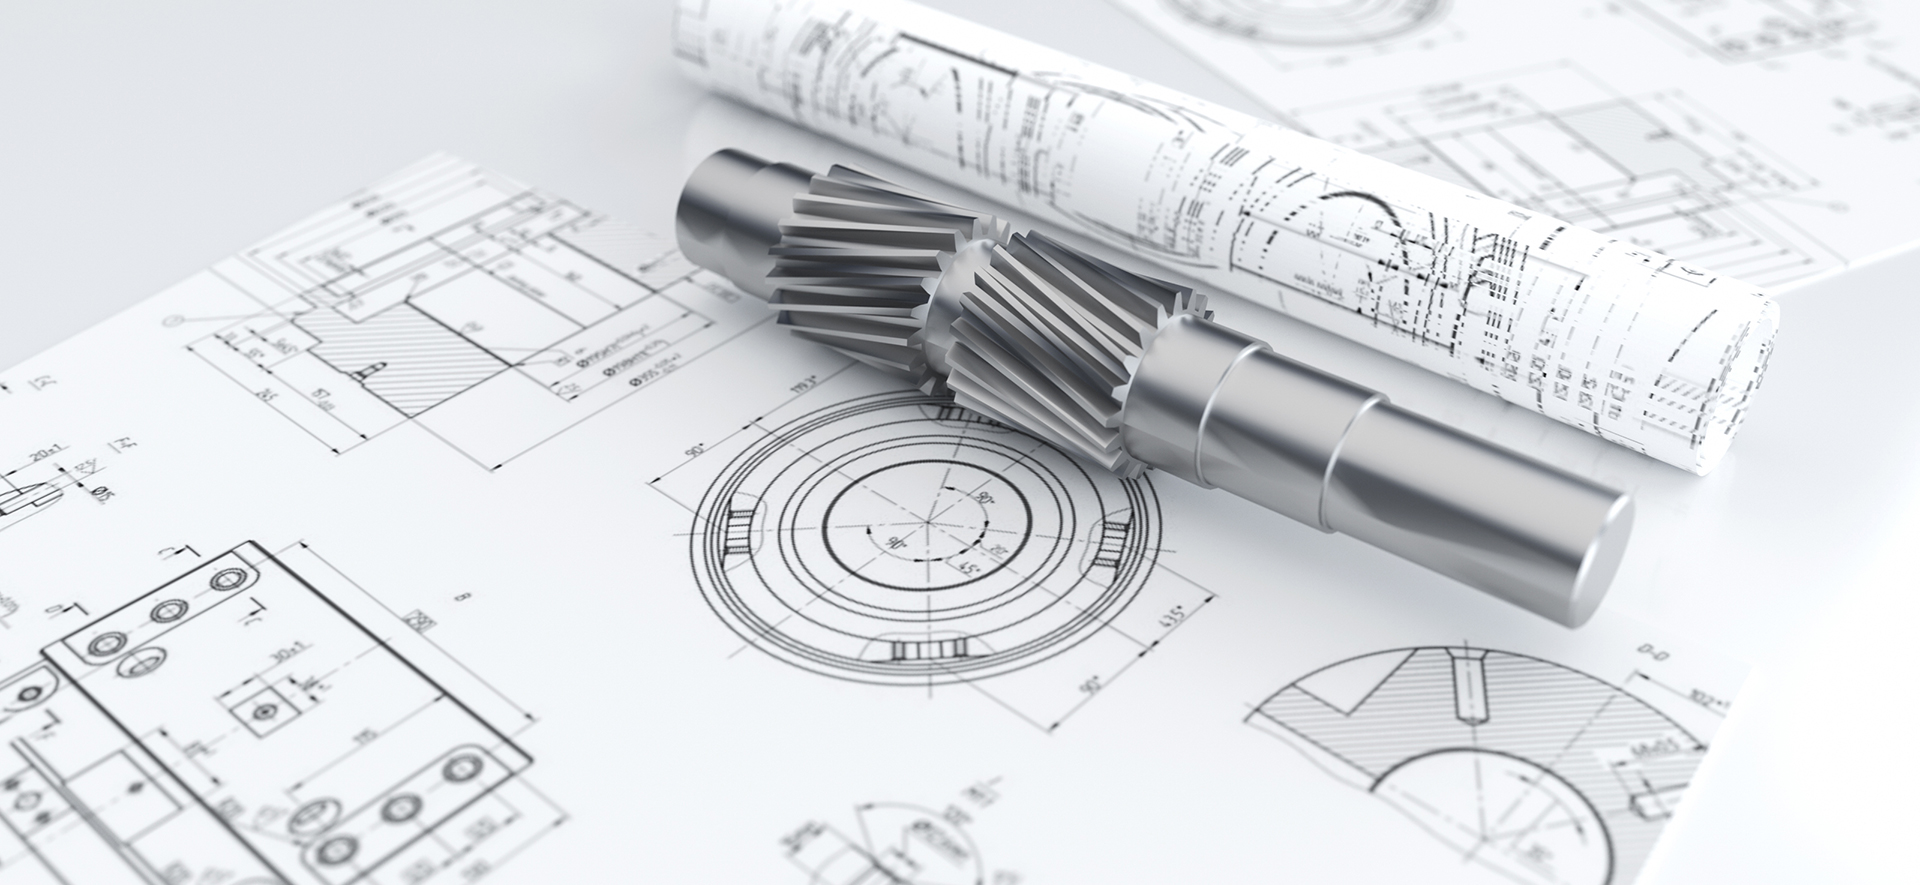
When designing, surveying, and mapping parts, it is necessary to draw part drawings. The accuracy of the drawn illustrations will directly affect the machine’s performance or function. So for designers who draw machined parts diagrams, the requirements are very high. This article will specifically introduce the drawing method of mechanical processing parts diagram.
- Analyze parts and determine presentation schemes
Before drawing, you must first understand the name of the part, its function, its position in the machine or component, and the assembly connection relationship. On the premise of clarifying the structure and shape of the part, combined with its working position and processing position, determine which of the four types of specific features (sleeve, disc cover, fork frame, box body) it belongs to. Then according to the expression characteristics of such claims, determine the appropriate expression scheme.
When choosing an expression scheme, you should pay attention to the following two points:
1.The number of views should be appropriate
Minimizing the dashed lines in the view should be considered, and using a small number of dashed lines is appropriate. On the premise of clearly expressing each part’s shape, strive to communicate concisely, the number of views is correct, and you should avoid repeating part features as much as possible.
2. The expression method should be appropriate
According to the internal and external structural shape of the part, the expression of each view should have its focus and purpose; in this step, you should also clearly define the terminology of the main structure and part of the structure. At the same time, it is necessary to consider the reasonable layout of the graphics, such as the configuration of the primary view in the prescribed manner. - Sketch a part
The part sketch is a part drawing drawn by freehand, which is an essential basis for drawing assembly drawing when drawing part drawing and component surveying. When sketching apart, it is required to visually measure the size of the part, determine the drawing scale, and remove it freehand. The general steps are as follows:
1. Understand and analyze the parts and determine the expression scheme
Determine the appropriate drawing scale and size according to the part’s size, complexity, and presentation scheme. Graph paper is best for sketching.
2. Draw the frame line and title bar, and determine the position line of the main view, such as the central axis, centerline, and drawing reference line.
3. Visually freehand drawing. Draw outlines of primary structures first, followed by methods of secondary structures. The relative views of each structure of the part you should draw around the projected properties. At the combination of adjacent structures, the increase or decrease of graph lines should be considered (such as intersection lines at the intersection, wireless at the tangent, etc.). Finally, complete all graphics.
4. Check and correct the whole drawing, erase unnecessary drawing lines, determine the dimension benchmarks in three directions, draw extension lines, dimension lines, and dimension arrows, and draw section lines.
5. Measure and determine all dimensions. Please refer to the relevant manuals or perform calculations before filling in the dimensions of standard structures (such as keyways, chamfers, etc.).
6. Annotate the necessary technical requirements, fill in the title bar, and complete the part sketch. - Draw a working diagram of the part
Based on completing the part sketch, combined with the actual production situation and processing technology experience, You should first thoroughly review the part sketch before drawing the part.
When checking the sketch, usually pay attention to several issues, such as: whether the expression scheme is reasonable and complete, whether the dimensioning is clear, complete, correct, and practical, whether the proposed technical requirements can not only meet the process requirements but also realize the performance requirements of the parts, etc.
Once you’ve checked and corrected your sketches, you can quickly start working on a working drawing of the part. The drawing steps of the part-work drawing are as follows:
1. Analyze the parts and select the expression scheme.
2. Determine the drawing scale and frame; draw the frame line and the positioning line of the main view.
3. Draw the sketch.
4. Check and correct the manuscript, deepen all the graphics after correct, and draw section lines.
5. Draw extension lines, dimension lines, and dimension arrows, and write down dimension values and technical requirements.
6. Fill in the title bar, check, and complete the part-work drawing.


